LG G8 Battery Replacement

I've been using LG smartphones for a long time and considered them the best for my purposes.
Since phones now have non-removable batteries, I wanted to purchase the necessary tools and develop the skill necessary to replace the battery and other internal parts.
Since phones now have non-removable batteries, I wanted to purchase the necessary tools and develop the skill necessary to replace the battery and other internal parts.
Then came the warning -

OH No! Removing the back cover or battery can lead to safety hazards!
The phone "features" a battery that is non-removable. How is this a feature?
All I want is to be able to change the battery. I don't want to be injured just working on my phone.
The phone "features" a battery that is non-removable. How is this a feature?
All I want is to be able to change the battery. I don't want to be injured just working on my phone.
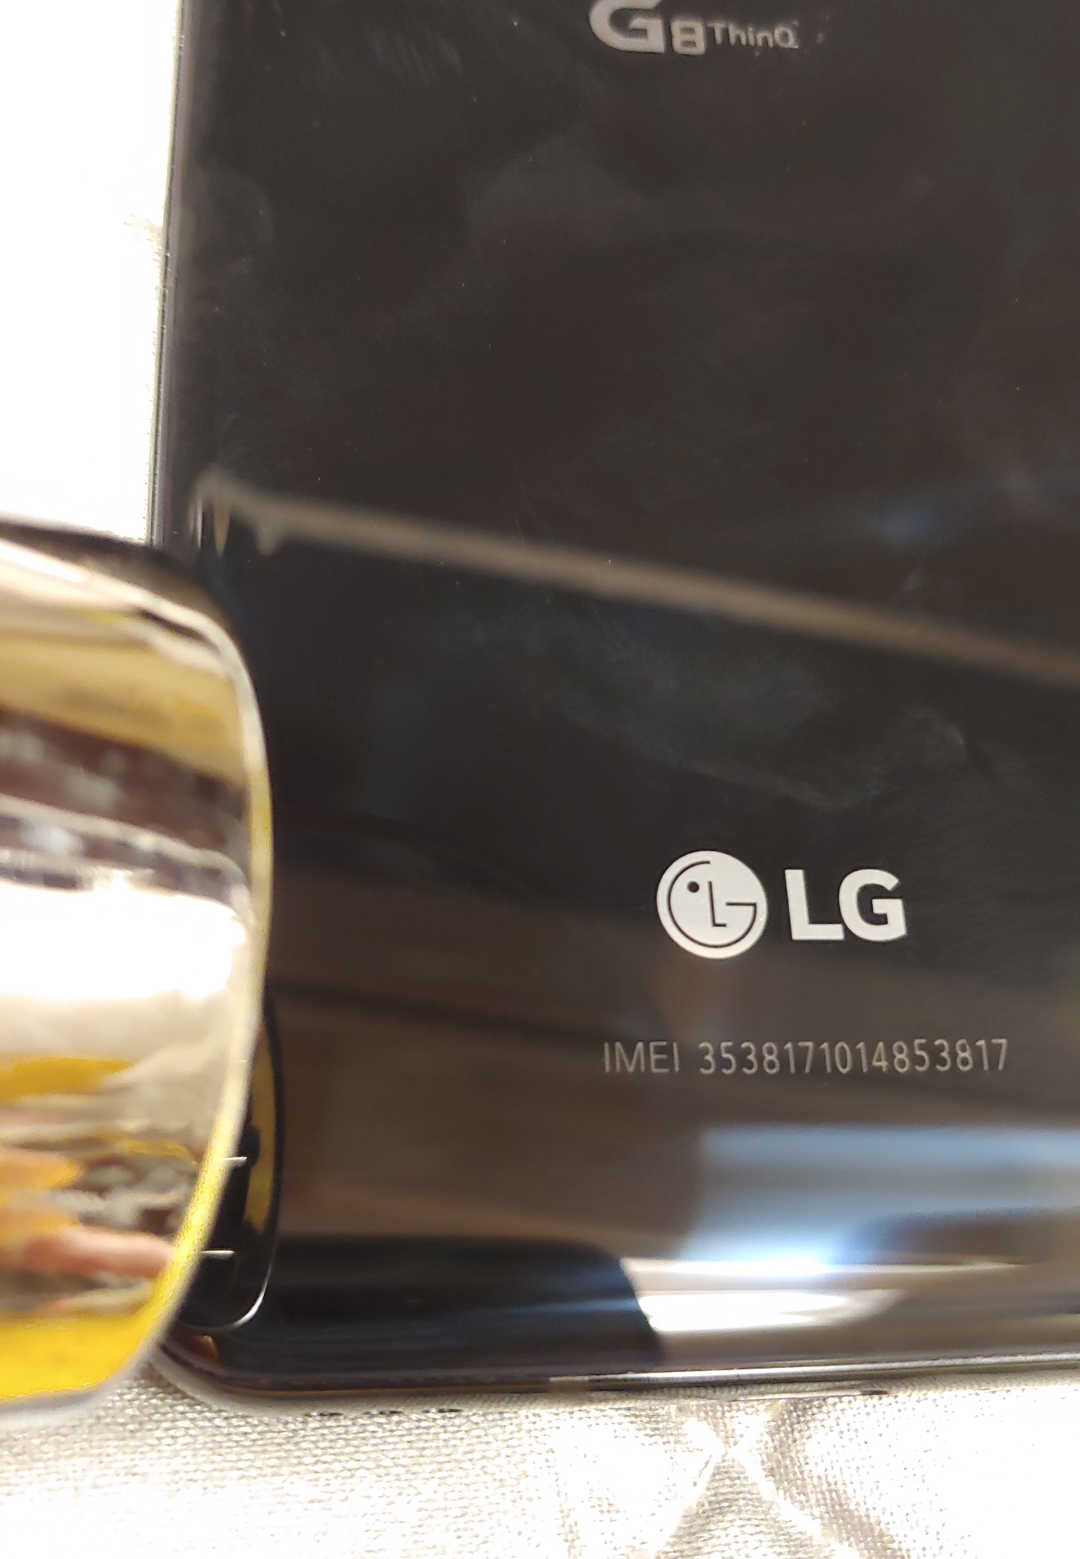
A junk phone to work on -

I searched eBay for a "Parts Only" G8 that I could experiment with for cheap. A G8 with a working display looked promising despite the extensive damage. If the phone was functional, that would be a big plus and give me an opportunity to replace the damaged display.
Using a Heat Gun -
To replace the battery, the rear cover needs to be removed. A heat gun was used to soften the adhesive used to hold the cover on.
It takes a fair amount of heat. When it's almost too hot to touch, it's ready for the suction cup.
It takes a fair amount of heat. When it's almost too hot to touch, it's ready for the suction cup.
Just starting to open -
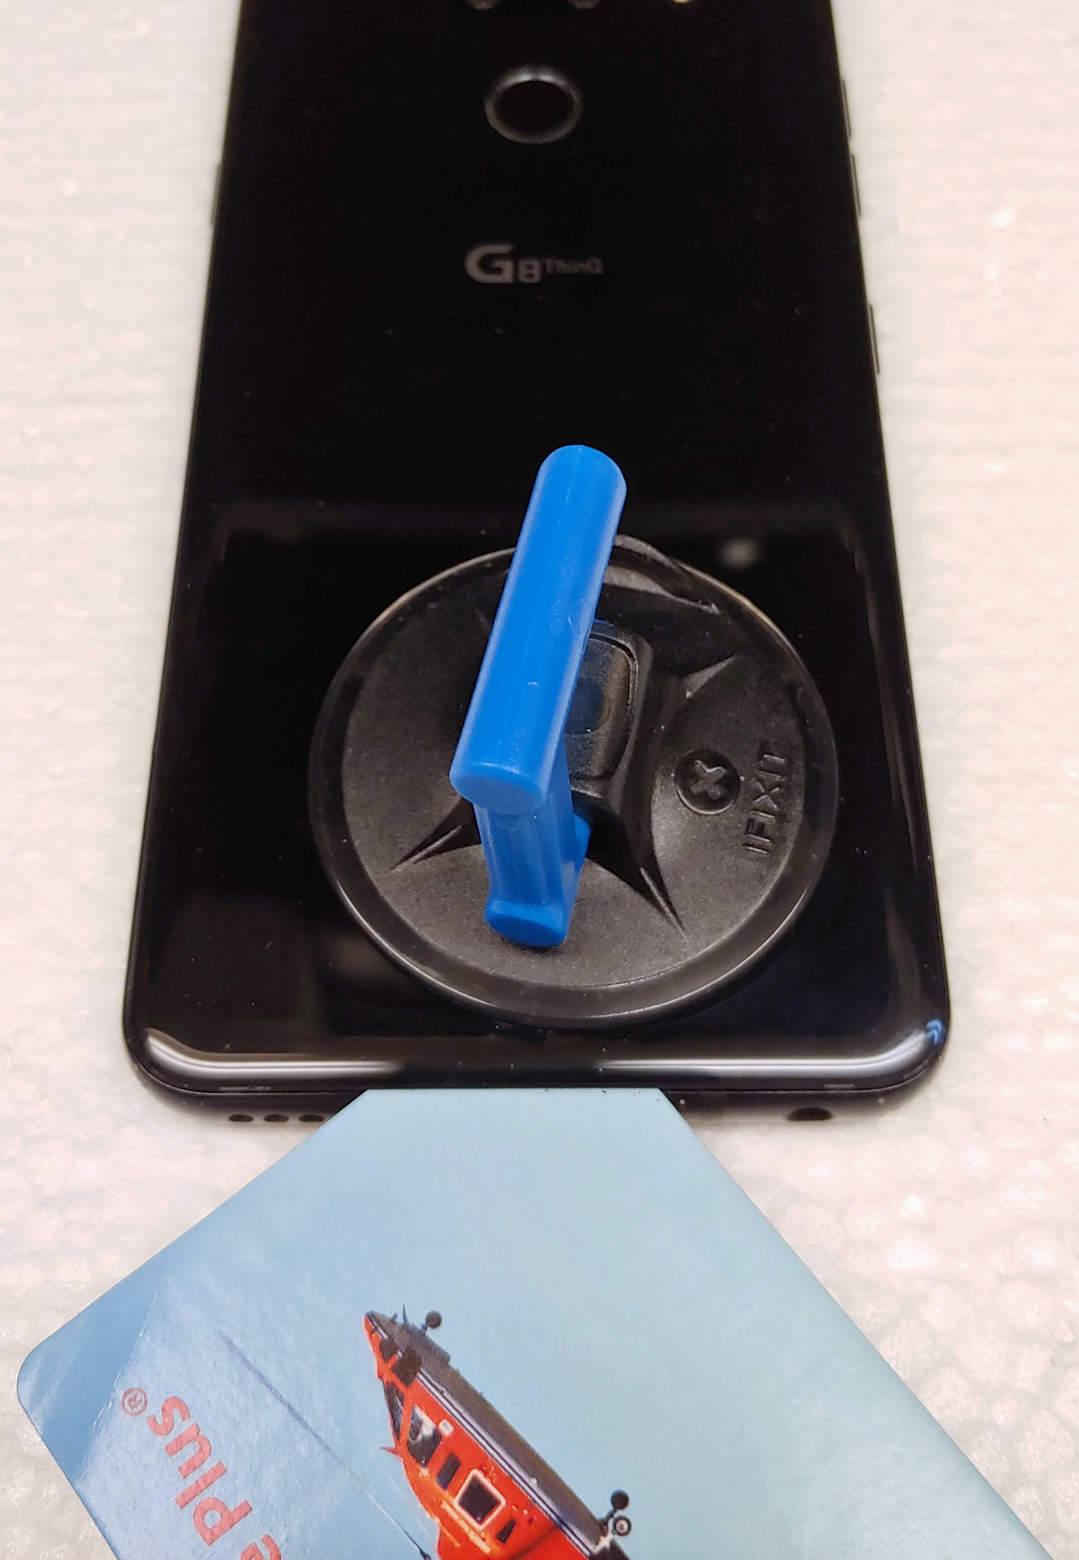
After heating, an iFixit suction cup was used to pull open a space between the rear cover and the frame. A thin card was inserted into this opening.
At this point, the hardest part of the entire repair was behind me!
At this point, the hardest part of the entire repair was behind me!
Using an iFixit "Spudger" tool -

Three pieces of a shiny thin card are holding a gap open across the bottom. Using an iFixit "Halberd Spudger" (on the left side), along with more heat, will gradually separate the adhesive on the sides.
Card Spacers Everywhere!

The Heat Gun and the Spudger allowed me to separate the cover from the frame and it looks like I'm winning! Fortunately, there are no cables between the cover and the motherboard on this phone.
And It's Open!

The adhesive no longer had its grip on the cover and it parted company with the frame. Total time, maybe a 1/2 hour.
The paper spacers with a glossy finish were a big help. A little cleanup with alcohol will be necessary to remove the old glue.
The paper spacers with a glossy finish were a big help. A little cleanup with alcohol will be necessary to remove the old glue.
14 Screws to Remove
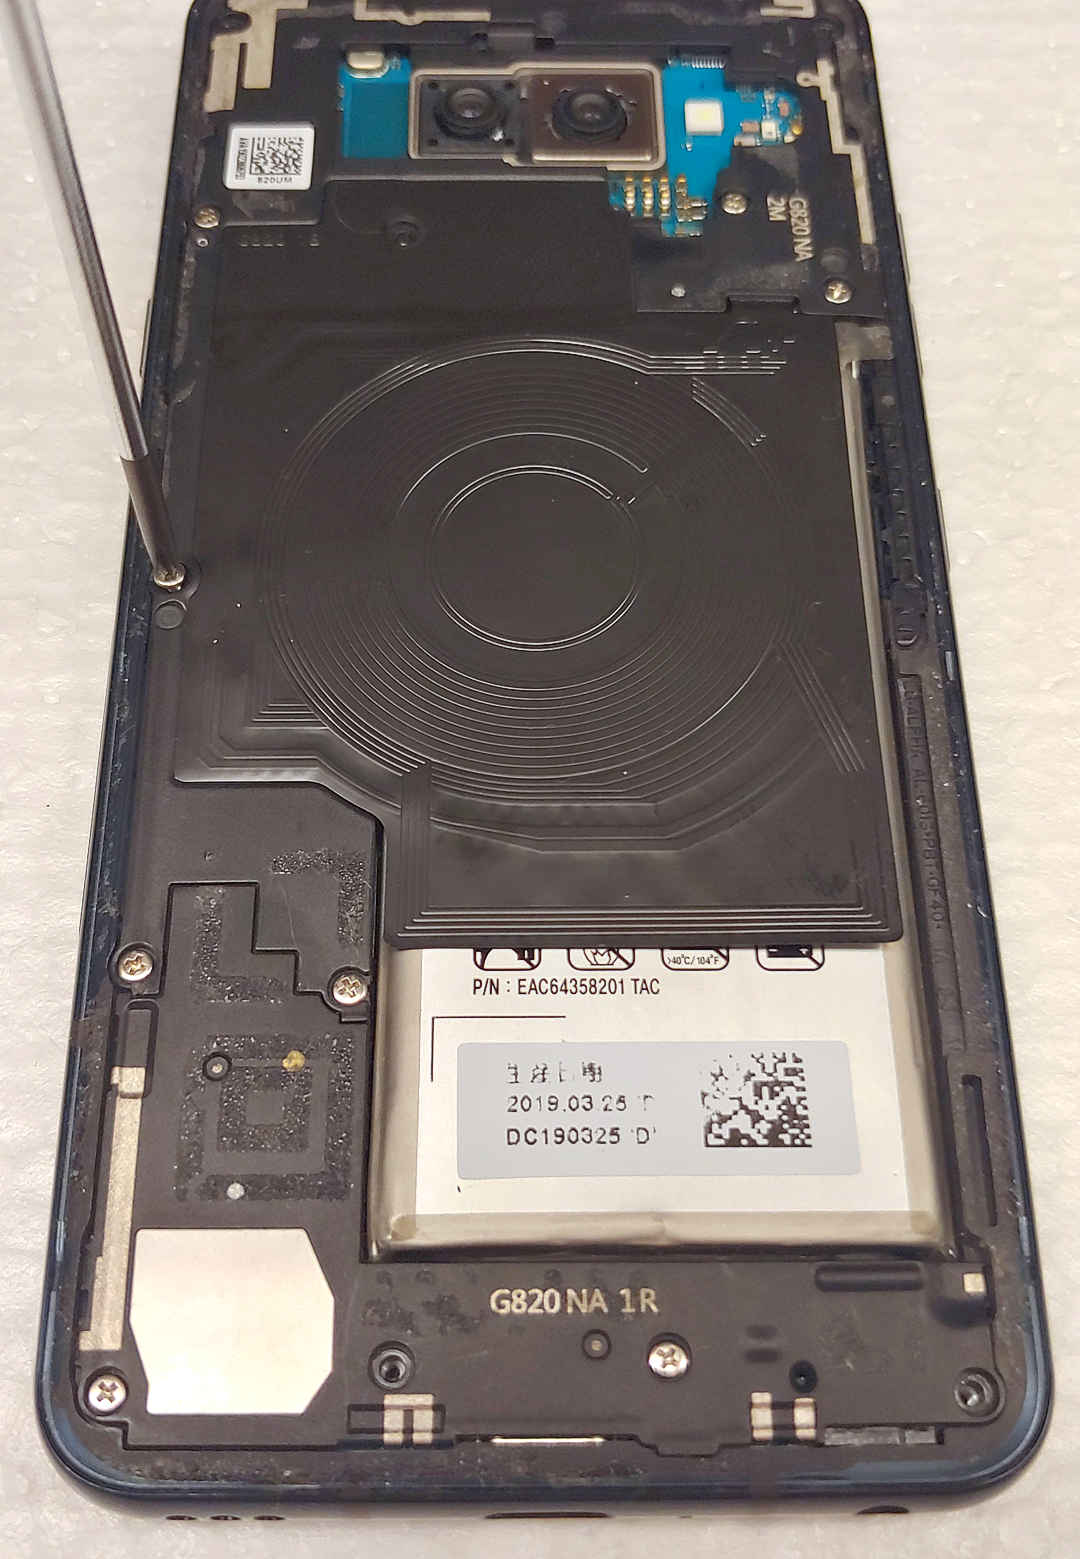
Removing all 14 screws was probably the easiest part of the repair. It helps to have a really good screwdriver. Some of the screws mount the Near-Field antenna and the wireless charging coil. Screws were a welcome change from working with sticky stuff.
The Works!

Hello, I'm your new phone. It looks a lot better on the inside than it does on the outside! Most of this stuff has to come out. I'm going to start at the bottom...
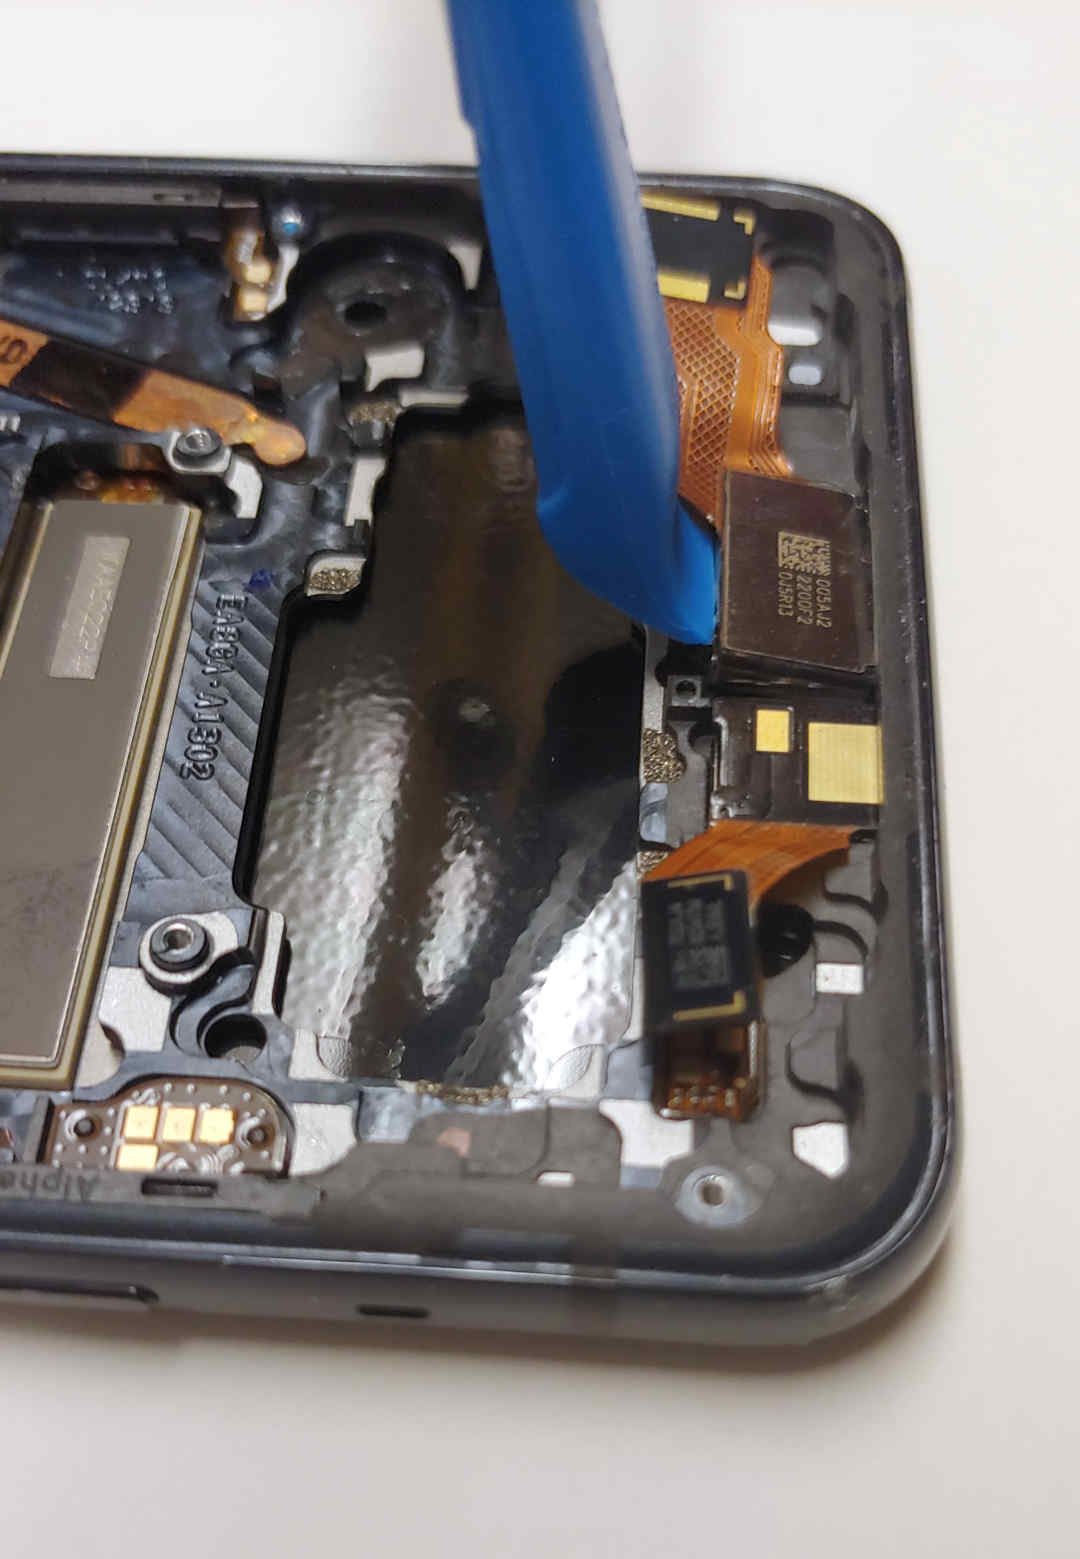
The dreaded battery removal
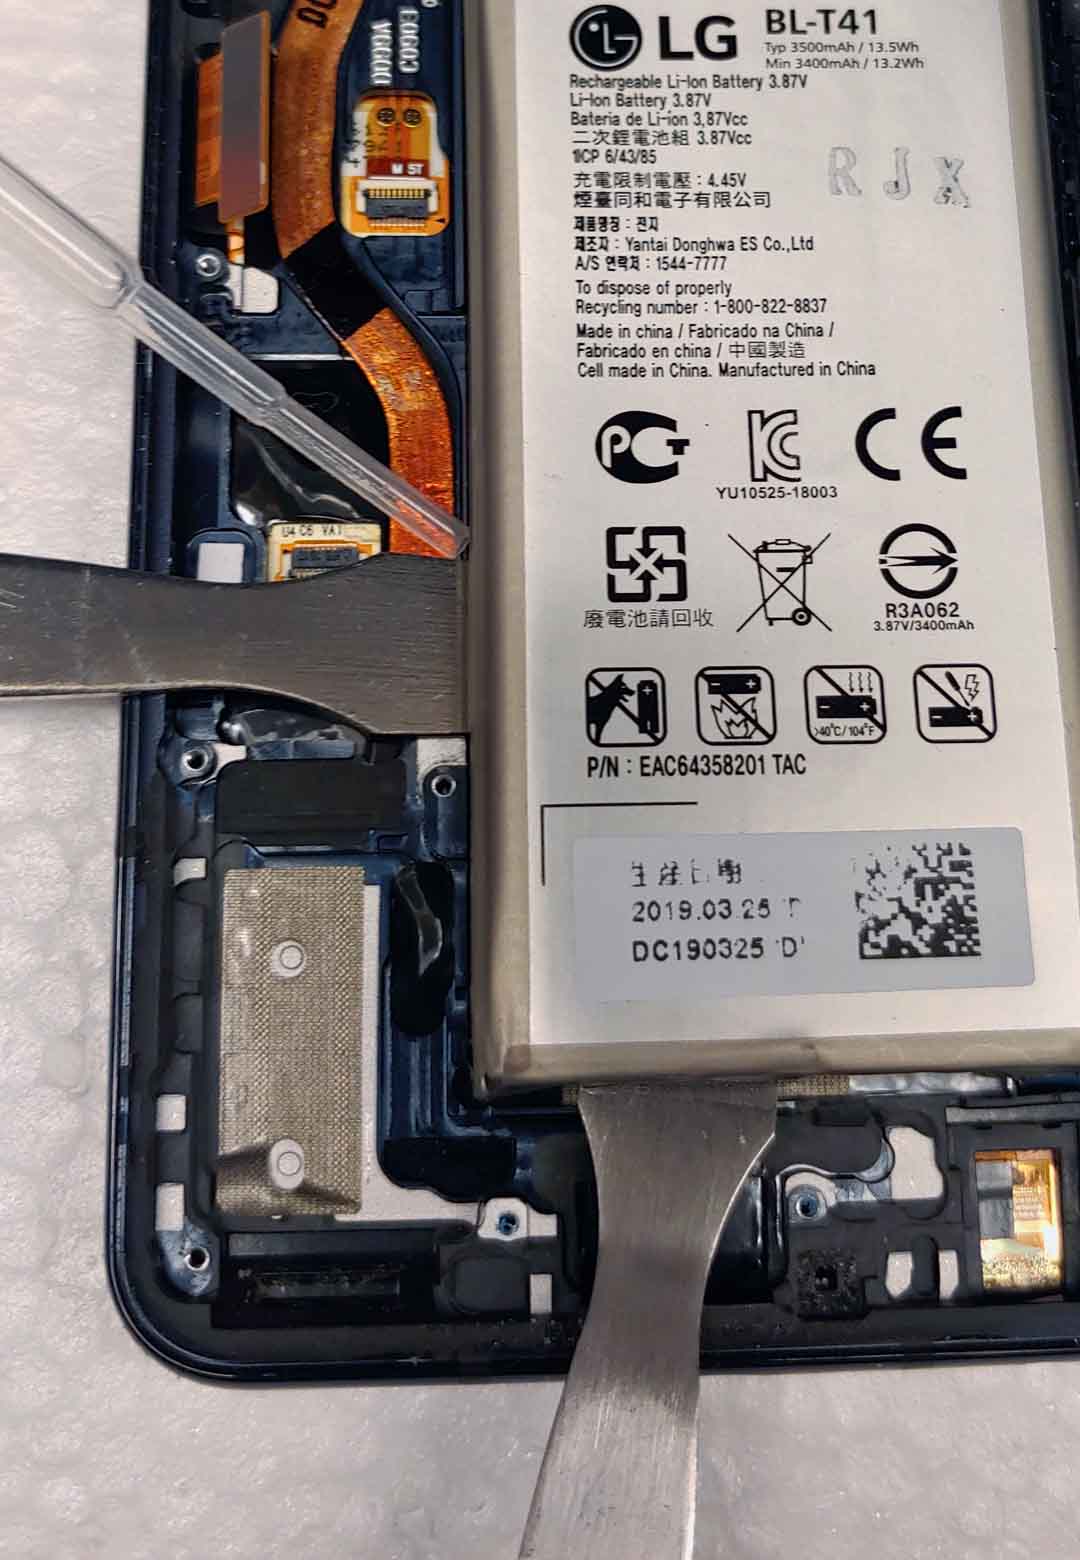
There are folks that say the battery is almost impossible to remove. I squirted 99% isopropyl alcohol under the battery and using the pry tool, it came out easily. Using 3 tools at the same time is for illustration purposes only...
Everything moved to the other frame
Everything must go. It's surprising how much sticky is used in the construction of a Smartphone. It seems to do the job.
Bare Bones
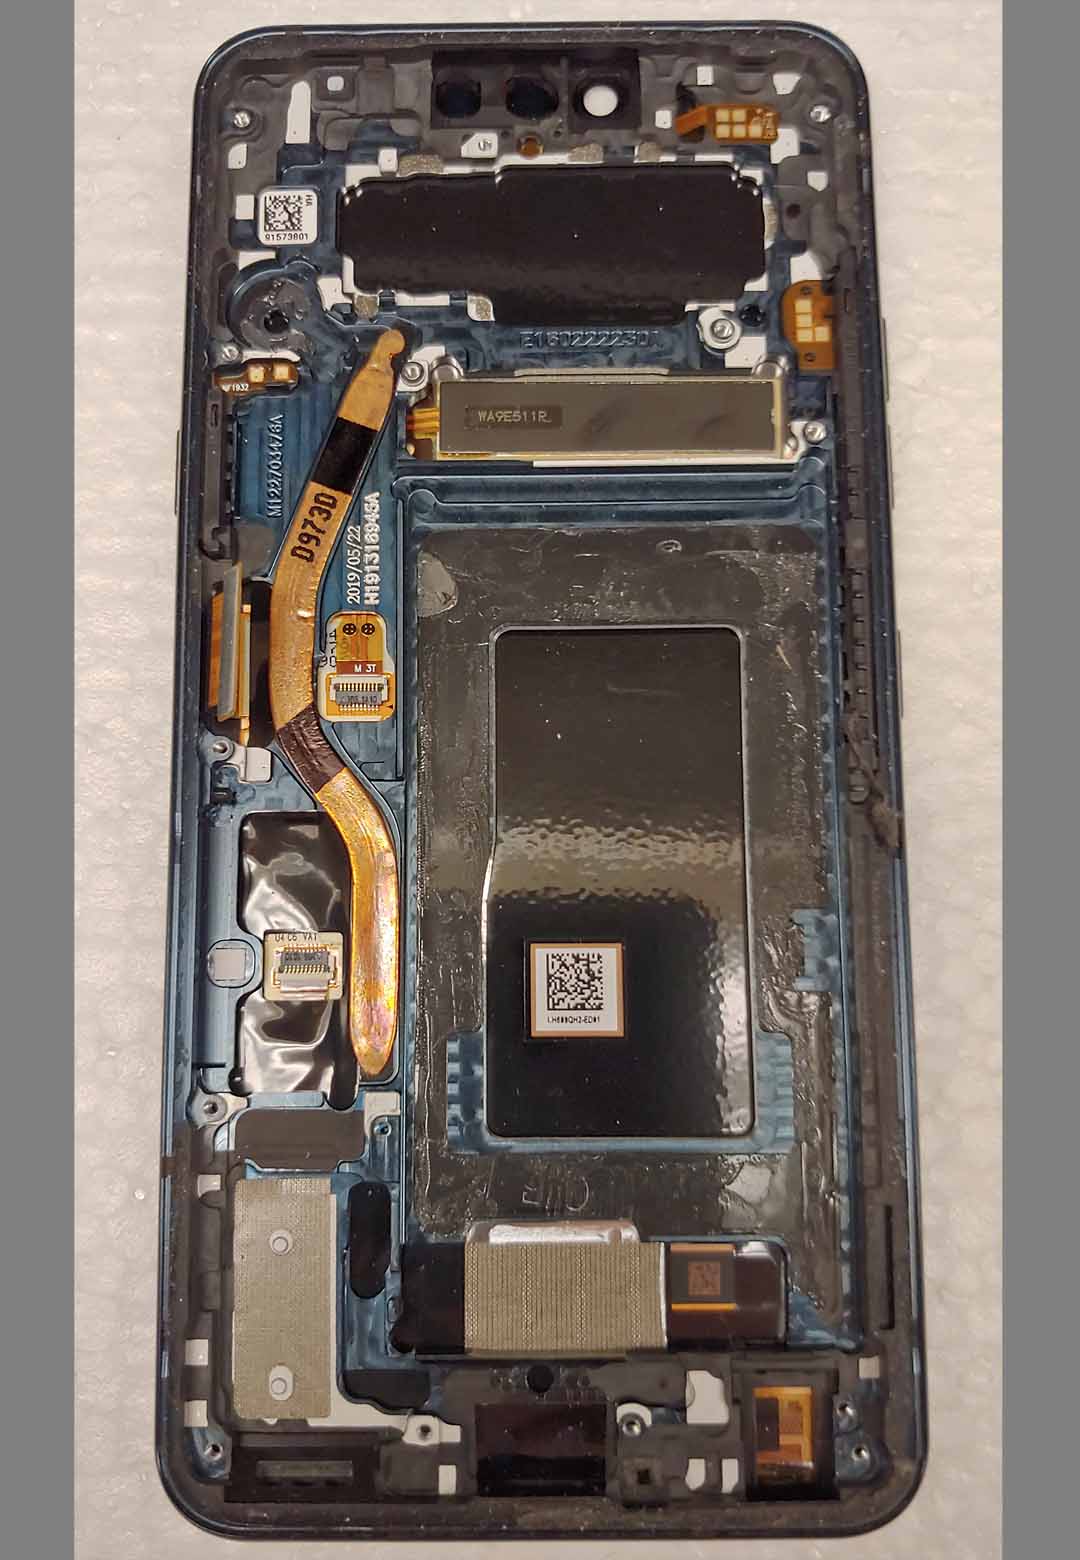
The old case has all the removable stuff removed. The zig-zag copper tube on the left side is liquid cooling. The square gray item about 30% down from the top is called "Crystal Sound". It transmits the sound directly into the screen replacing the little hole on most phones. It sounds great even with my compromised hearing and was one of the reasons I like this model phone.
Parts is Parts
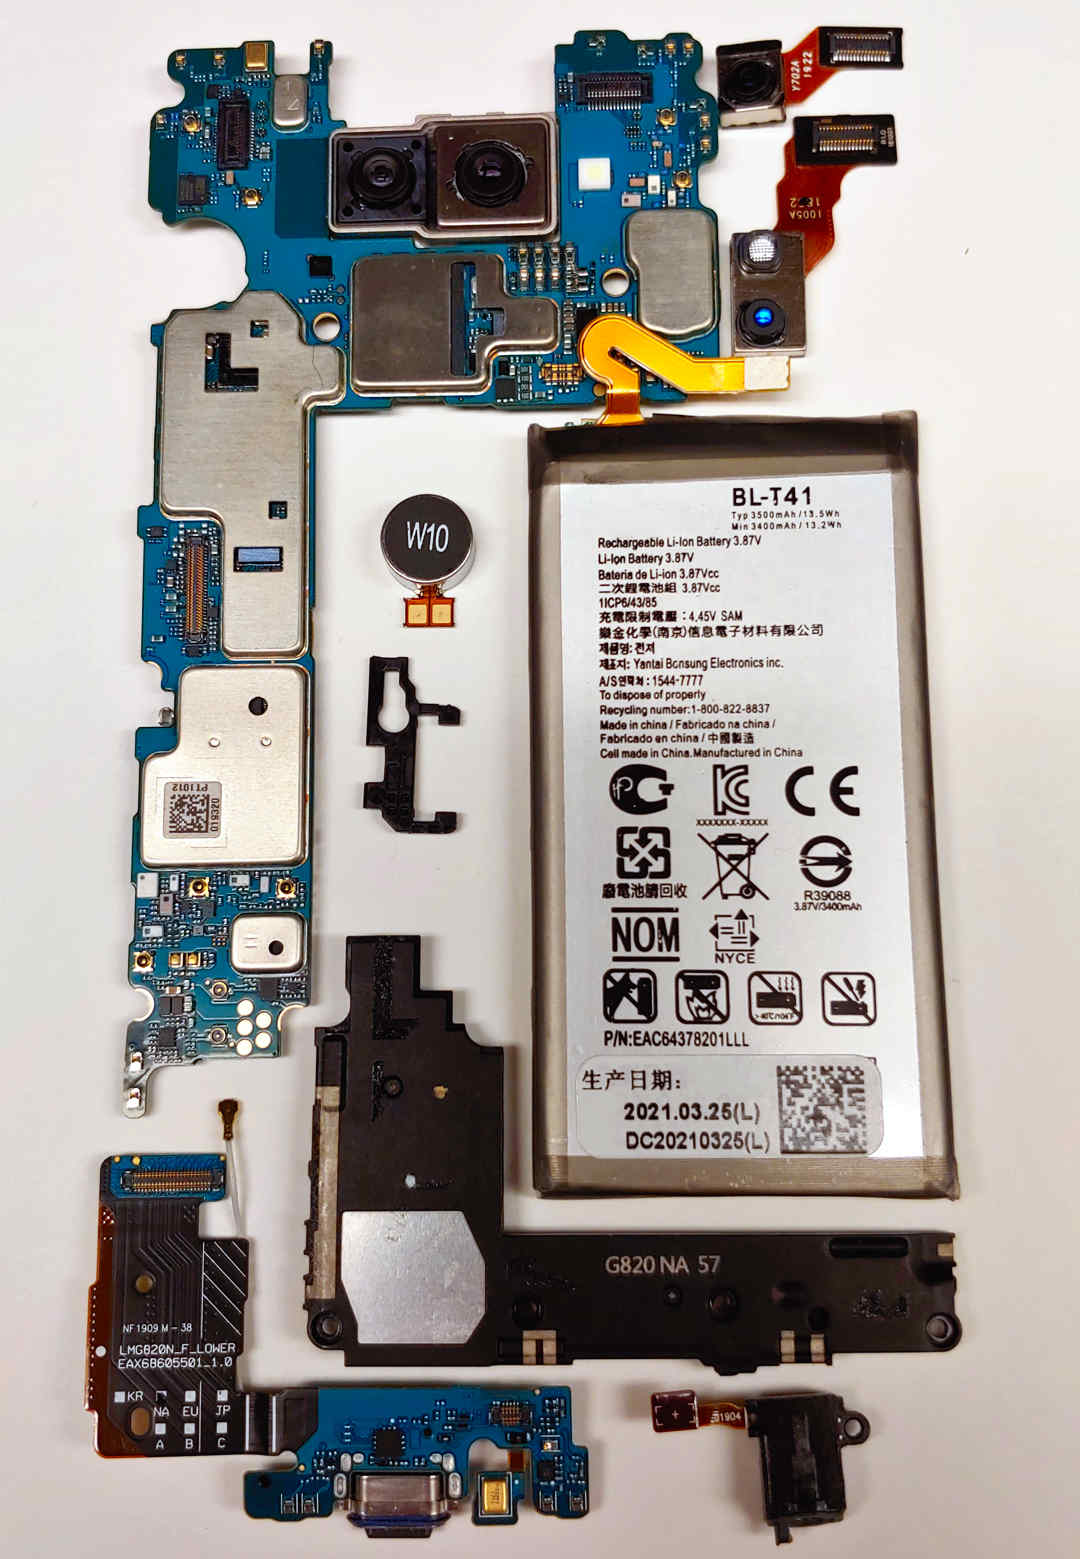
The old saying is that reassembly is the reverse of disassembly. The heart of the phone is the motherboard. The other parts include the vibrator, speaker, charging port/microphone, headphone jack, front-facing cameras and various antennas. It received an Android 12 update and a new micro SD card. And yes, it runs and looks like new!
Final Assembly

This is probably not the correct way of applying the cover adhesive but nothing else was obvious. Once the clear plastic on one side was pulled off, the clear blue "template" was set in place. You only get one chance with this so be careful. When positioned, the sticky black adhesive was pressed in place and the blue template removed.
Bootstrap Carousel Version 5.2

This was a test of Bootstrap Carousel to see if was useful for things like this. The Carousel component was installed into a blank web page using Bootstrap Studio and Bootstrap 5.2
I was disappointed in the "default" slideshow. While there are various options and settings to make it more to my liking, I had to decide what I wanted and wasn't sure it would ever meet my needs.
First on the list were captions. Could you have a page of captions (like this page) without a picture? Would the captions work best at the top, above the picture, superimposed over the picture, or below the picture? For several reasons, above the picture was my first choice and over the picture (the default) was a long third.
So, how is that accomplished? The solution was CSS and "Table Caption" for the description. To do this, the image and caption have to be in a table container then "display: caption-table;" in CSS is used.
With that working, something had to be done with the navigation arrows. When at the first or last slide, the arrows indicated that you could go to a slide that didn't exist. As you can see on this page, which is the last, there is no right-arrow button. This took a little JavaScript (and jQuery) to fix. To make that more interesting the carousel message handler is not the same on all versions. Then, another nasty issue is that you can't use finger swipe on a Smartphone without first using an arrow. That's been fixed also by calling left arrow upon (document.ready) which isn't visible to the user.
So Carousel is still a work in progress expecially in the area of accommodating various aspect ratio images and varing amount of description. Most of these pictures are 9 x 13 which seemed to work out well.
I hope you enjoyed viewing the repair and will not be afraid of working on your own phone.